Switching out a faulty tractor light switch is a straightforward task that significantly improves safety and visibility. This guide helps you select and install the right replacement, avoiding common pitfalls. We'll cover switch types, compatibility, and top-performing options. For more information on other tractor switches, check out this helpful resource on lawn tractor ignition switches.
Understanding Tractor Light Switches
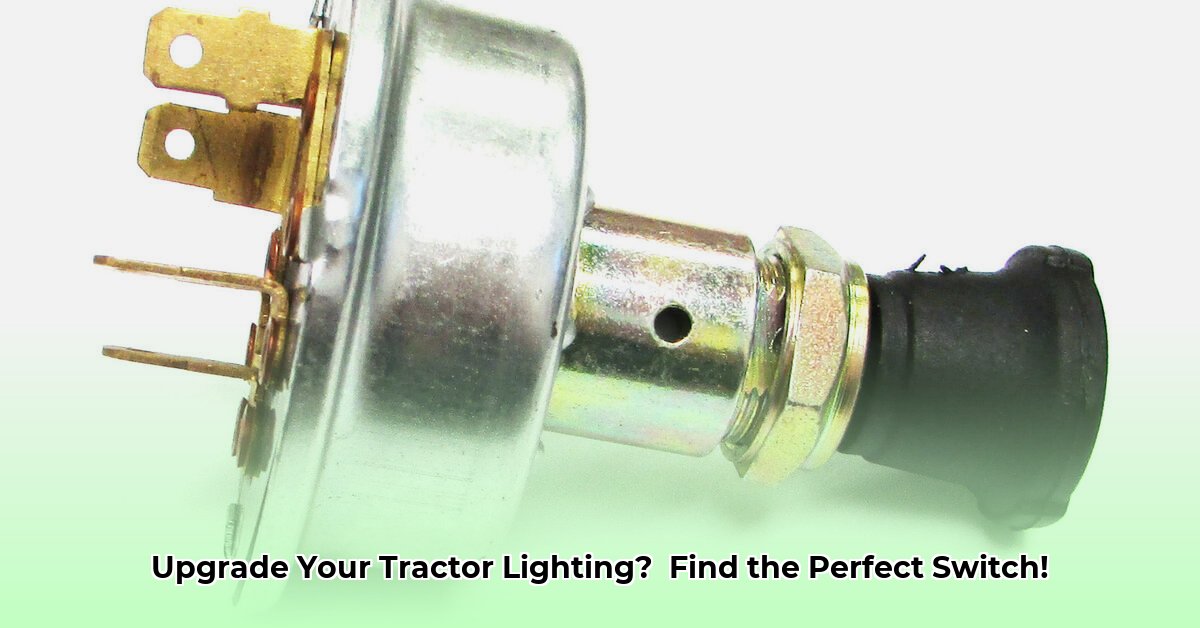
Tractor light switches typically come in two styles: toggle (on/off lever) or push-button. Most operate on a 12-volt system. Common materials include durable ABS plastic (a strong, impact-resistant plastic) or aluminum, offering resistance to wear and tear.
Crucially: Compatibility is paramount. Using the wrong switch can cause malfunctions, electrical shorts, or even fire hazards. Always consult your tractor's owner's manual for the correct Original Equipment Manufacturer (OEM) part number. This number ensures a seamless fit with your tractor's electrical system. Don't skip this step!
Choosing and Installing the Right Switch
Replacing your tractor's light switch is a manageable process. Follow these steps:
Step 1: Identify Your Tractor's Specs
Note down the tractor's make (e.g., John Deere, Massey Ferguson), model number, and year of manufacture. This information will guide your search for a compatible replacement.
Step 2: Locate the OEM Part Number
Your owner's manual is vital here. Find the OEM part number—it's usually on the switch itself or within electrical diagrams. This number guarantees compatibility.
Step 3: Source Reputable Suppliers
Choose established agricultural equipment retailers or parts dealers with positive online reviews. Check customer feedback before buying to ensure quality and reliability.
Step 4: Verify Compatibility
Before purchasing, meticulously compare the switch's specifications to your tractor's details and the OEM part number. Double-check everything—incompatibility can lead to serious issues.
Step 5: Gather Your Tools
You'll need screwdrivers (Phillips and flathead), possibly wrenches, and wire strippers (if needed). Electrical tape is also recommended.
Step-by-Step Installation:
- Disconnect Power: Always disconnect the battery's negative terminal to prevent electric shock or short circuits. This is the most critical safety precaution.
- Remove the Old Switch: Carefully remove the screws holding the old switch. Take photos of the wiring configuration for reference during reassembly.
- Compare Old and New Switches: Place the old and new switches side-by-side and carefully compare terminals and wiring. They must match precisely. If you have any uncertainty, consult your manual or seek professional advice.
- Install the New Switch: Securely mount the new switch using the original screws. Ensure a tight fit.
- Reconnect Power: Carefully reconnect the battery's negative terminal.
- Thorough Testing: Turn the ignition on and test all lights connected to the new switch. Ensure they function correctly.
Review of Top Switches
The market offers diverse tractor light switches. Compatibility remains the top priority. This review highlights a few options—always check for compatibility with your specific tractor model.
| Brand | Model | Material | Key Features | Typical Compatibility | Pros | Cons |
|---|---|---|---|---|---|---|
| Brand X | Switch-X | Heavy-Duty Aluminum | Waterproof, Durable Toggle | John Deere, Massey Ferguson | Excellent longevity, reliable performance | Higher price point. |
| Brand Y | Switch-Y | High-Impact ABS Plastic | Waterproof, Easy Installation, Push-Button | Case IH, Ford, Older Models | Affordable, simple to install | Might not be as durable as metal switches over the long term. |
| Brand Z | Switch-Z | Sealed Aluminum | Heavy-duty, Vibration Resistant | Universal Fit (with possible modifications) | Very robust, suitable for demanding conditions | May require some wiring adjustments for a perfect fit. |
Remember, this is a sample. Verify compatibility directly with the manufacturer or your tractor's parts supplier. Prioritize safety; If uncertain, seek professional assistance.